Does your Keurig 2.0 sound strange and brew slower than usual?
Also, does it have other issues like brewing too much coffee or not filling your cup as usual? If you are experiencing one or a few of these situations it is a clear sign that it is time to clean your coffee maker.
But do you know how to clean Keurig 2.0 coffee makers? Well, it is true you have been using this machine for a long time, but this does not mean that you know how to clean it thoroughly, does it? You need to clean the coffee machine also if you are the proud owner of one of the very hardy best nespresso machines.
If you love your cup of coffee and want to get it fast and in the best taste you need to clean your Keurig 2.0 regularly. Yes, even with the busy schedule you can still manage to spare a few minutes for your precious coffee maker.
But how should you do it? Here is a simple Keurig 2.0 cleaning tutorial to help you out.
Have you ever found yourself desiring to clean something but do not know where to start or what to do?
 If so, in most cases the reason is that you have not gathered all the things you need. But to make sure this is never the case when you want to clean and descale your Keurig 2.0 here is what you need.

Sounds obvious, doesn’t it?
But, this is still an essential step in cleaning your Keurig 2.0 coffee maker, and it should always be the first thing that you do. Until you switch off the machine and unplug it, your coffee maker will not be ready for cleaning.
You will be surprised to find out that there is a significant number of people that will either forget this vital step or ignore it. But the consequences can be severe as you will be at risk of electrocution or damaging the appliance.
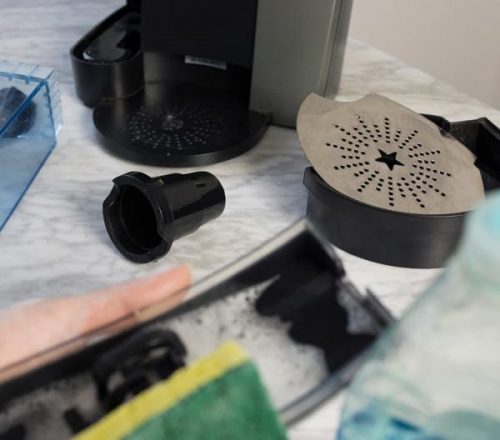
There are many removable parts on this appliance, and so the next step after unplugging it is removing them. If there is some water, you should start by emptying it and also remember to remove any cup packs on the machine. Next, remove other parts like the drip tray and its cover, K-cup holder, and funnel.
Although some of these components might be dishwasher safe, it is always best to wash them in the sink and do it with some warm soapy water. After which you should dry them with a clean kitchen towel.

Here is a step that most people will forget. When was the last time you unclogged the needles on your coffee maker? Can you even remember?
Well, you are not alone on that because many individuals that own the Keurig 2.0 have never done it even once. But, it is something simple that should not take a lot of your time.
All you need to do is to unbend a paperclip partially and insert the open end into each of the holes(there should be three holes) on the needle that pierce the K-cup when the machine is brewing.
You should then jiggle the paper clip around for a few seconds and remove it. You should also not worry about damaging the appliance because there are no working parts here.
Do you wipe your coffee make often?
If you don’t, you should start doing it after every use if possible. But, when you are cleaning the machine you also need to do it. For this, a soft and dry kitchen cloth will be handy.
You can dampen the kitchen cloth to make it clean better and when wiping the surface also don’t forget the coffee pod area because some coffee granules may collect there.
The last step is to return all the parts to their rightful place. But before you do it, double check to make sure that everything is clean and dry.
Also, it is essential to make sure that everything is there and that you did not drop anything or leave it in the sink. And once you do this you can proceed to descale which is also a crucial step in cleaning your Keurig 2.0.
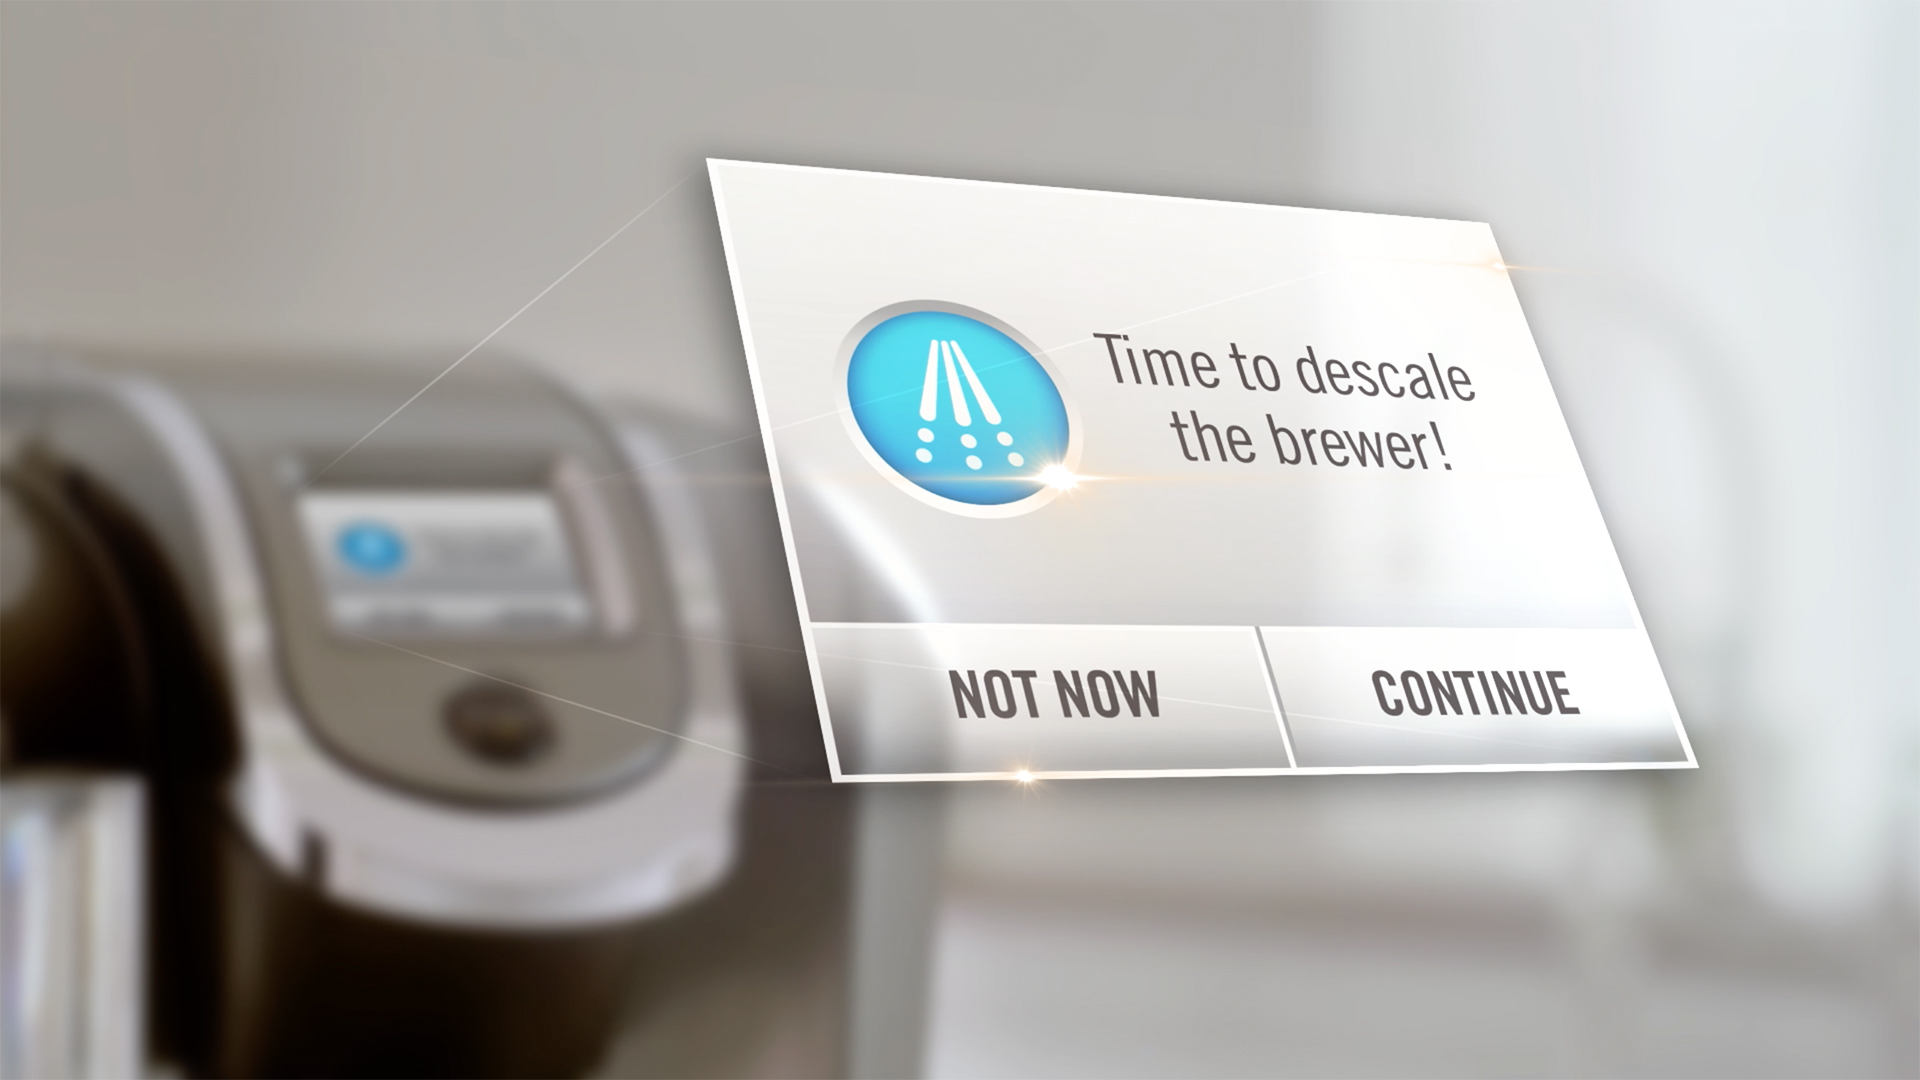
back to menu ↑Do you hate taking coffee with a weird taste?
Worst still does your Keurig 2.0 take forever to make a cup? If so, the reason might be that the machine has some limescale accumulation. Even if you clean everything by following the steps above you will not solve this problem. And so you need to do some descaling every couple of months.
So lets jump right into the simple steps to follow to descale the appliance.
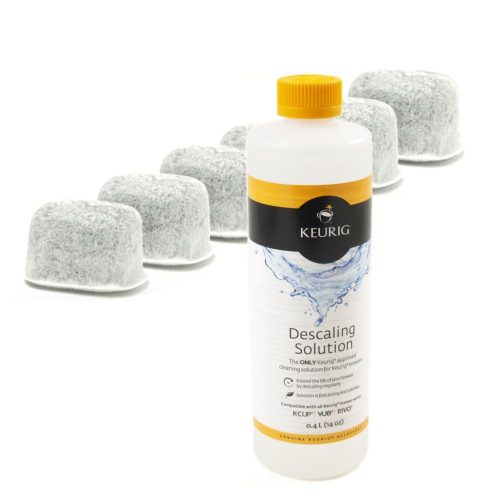
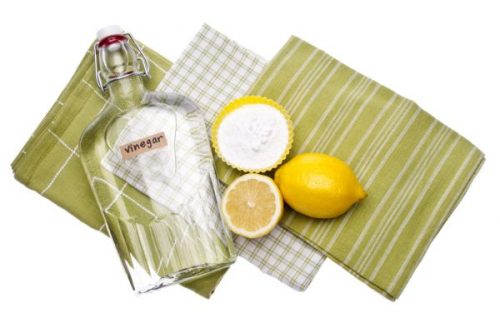
The first step when descaling your machine should always be to pick your solution as there are many options. Although the white vinegar solution is the most common, you can also use the Keurig descaling solution or citric acid.
When using vinegar, you should mix one part of it with an equal amount of water. For the descaling solution, the mixture is the same as white vinegar while for citric acid you need about 2 tablespoons of the concentrated acid for every liter of water.

With the vinegar solution in the reservoir, you should now start a brew cycle. But do not insert the K-cup when doing this because you only want to run the vinegar through the machine to remove the calcium buildup.
It is also important to know that your Keurig 2.0 will not run without the pod in the holder and so you can just insert a used one. Running one brew cycle is just enough, but you can still do more if you think that the limescale build up in your machine is severe.
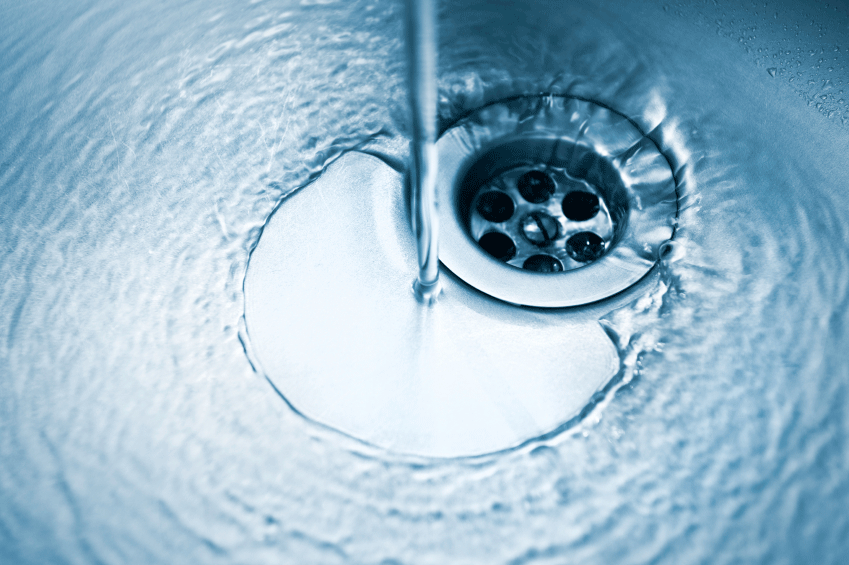
 Once you are satisfied that the vinegar or descaling solution has done the job it is now time to rinse the machine. And yes it is just that easy. When doing this, you will need to run water through the machine several times to get rid of the lousy vinegar taste and smell.
And remember to check the last cup of water that you run through the machine to make sure there is no vinegar taste or smell left on your coffee maker.
A simple trick that you can use to determine whether there is still vinegar on the machine or not is to add a pinch of baking soda to the last cup that you make. If it fizzes, you need to run more water through the machine because this shows that there is still some vinegar.
 Don’t you wish that you never had to spend any time cleaning your coffee machine?
Yes, we all would want that wish to become a reality. And this is because we do not always have the time or feel like doing it. But since you cannot go without cleaning your Keurig 2.0 coffee maker the best you can do is to do some protection and prevention to make the cleaning easy.
Cleaning after each use is one of the easiest and best ways to protect your machine. If you know what to do, it will only take a minute or less. The most important after use cleaning will entail washing the carafe with some mild detergent and wiping the machine with a damp cloth.
Using filtered tap water is also an excellent way to prevent the buildup of calcium or at least slow it down so that you do not have to clean the coffee maker very often. A simple tap water filter will not cost much, but it will help keep your machine in good shape and reduce the required cleaning frequency.
Also, you should never leave water sitting in the machine when you are not making coffee.
And why is this so? Keeping water in the appliance will cause a buildup of minerals as it evaporates.
back to menu ↑
 Conclusion
So what are your views on cleaning the Keurig 2.0? Isn’t it just too easy?
Now that you know how to clean Keurig 2.0 you do not have an excuse not to do it as often as required. Doing this will keep it running well and ensure that you get your refreshing cup of coffee fast and that the taste is just how you like it. Finally, maintenance and cleaning are the answers to ensuring that it serves you for long and that you will not need to replace it for many years.